How to Work with 464 Wax for Candle Making
Creating your own candles can be a rewarding and fulfilling hobby. Not only do you get to unleash your creativity and personal style, but you also have control over the ingredients used in the candles you make. One popular option for candle making is 464 wax. In this article, we will explore the basics of working with 464 wax, from understanding what it is to troubleshooting common issues and achieving the best results.
Understanding the Basics of 464 Wax
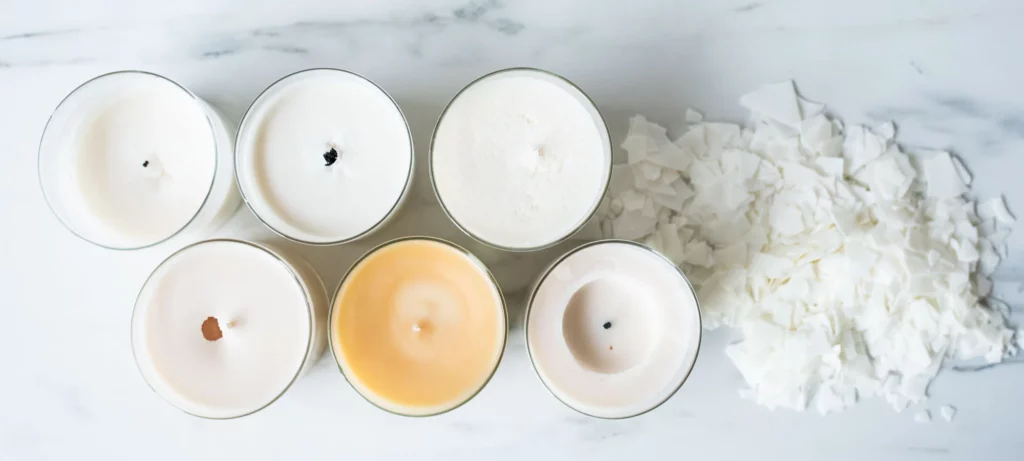
Before diving into the specifics of working with 464 wax, it’s important to have a good understanding of what it is. 464 wax, also known as container soy wax, is a type of wax specifically designed for making container candles. It is made from soybean oil, which gives it several advantages over other types of wax.
What is 464 Wax?
464 wax is a natural and renewable resource, making it a popular choice among eco-conscious candle makers. It is biodegradable and produces little to no soot when burned, resulting in cleaner air and easier cleaning of candle jars. Additionally, 464 wax has a lower melting point compared to other waxes, which means it melts and sets faster, reducing overall production time.
Benefits of Using 464 Wax in Candle Making
There are several benefits to using 464 wax in candle making. Firstly, its natural composition allows for a cleaner and longer-lasting burn compared to paraffin wax. This means that the candles you create with 464 wax can provide hours of enjoyable fragrance without compromising air quality.
Secondly, 464 wax has excellent fragrance throw, meaning it is able to hold and release fragrance oils effectively. This allows you to create highly scented candles that fill your space with delightful aromas.
Lastly, 464 wax has a smooth and creamy appearance, making it visually appealing in both its melted and solid state. This makes it an ideal choice if you want to create aesthetically pleasing candles.
But the benefits of 464 wax don’t stop there. Another advantage of using this type of wax is its versatility. Due to its lower melting point, 464 wax can be easily melted using various methods, such as a double boiler or a microwave. This makes it convenient for candle makers of all skill levels, as it allows for easy and efficient wax melting.
Furthermore, 464 wax has a great ability to hold color, allowing you to create candles in a wide range of vibrant shades. Whether you prefer bold and bright colors or soft and pastel hues, 464 wax can help you achieve the desired look for your candles.
Additionally, 464 wax has a longer shelf life compared to other waxes, ensuring that your candle-making supplies remain usable for a longer period of time. This can be particularly beneficial if you are a hobbyist or a small-scale candle maker who doesn’t go through large quantities of wax quickly.
Overall, 464 wax is a fantastic choice for candle makers who prioritize eco-friendliness, clean burning, strong fragrance throw, and visually appealing candles. Its natural composition, versatility, and long shelf life make it a reliable and popular option in the candle-making community.
Preparing Your Workspace for Candle Making
Before you start working with 464 wax, it’s important to prepare your workspace properly. This will ensure a smooth and safe candle making process.
Creating a dedicated space for your candle making endeavors can enhance your overall experience. Consider setting up a designated area away from high-traffic zones to minimize distractions. A clean and organized workspace not only promotes efficiency but also sets the stage for a creative and enjoyable crafting session.
You can also read about golden wax at: Golden Wax Tips and Tricks for the Best Results
Necessary Tools and Materials
To work with 464 wax, you will need a few essential tools and materials. Firstly, you will need a double boiler or a heat-resistant container to melt the wax. It’s important to never melt wax directly on the stovetop, as this can cause a fire hazard.
Investing in high-quality tools can make a significant difference in your candle making process. Opt for a reliable thermometer that provides accurate temperature readings to help you achieve the perfect wax consistency. Quality stirring utensils ensure thorough mixing of fragrance oils and dyes, resulting in well-blended and aromatic candles.
In addition to a heat source, you will need a thermometer to monitor the temperature of the wax. This is crucial for achieving the best results. Other tools and materials you will need include a stirring utensil, fragrance oils or essential oils for scent, dye chips or liquid candle dye for color, and candle molds or containers. Click here to read more about thermometer.
Safety Measures to Consider
Working with 464 wax involves heat, so it’s essential to prioritize safety. Always work in a well-ventilated area to avoid inhaling potentially harmful fumes. Wear heat-resistant gloves and protective eyewear to prevent burns and eye injuries. Keep a fire extinguisher nearby in case of emergencies, and never leave melting wax unattended.
Furthermore, familiarize yourself with the properties of 464 wax to handle it safely. Understanding its melting point and behavior can help you anticipate and prevent potential mishaps during the candle making process. By taking proactive safety measures, you can enjoy a worry-free and fulfilling crafting experience.
It’s also important to be mindful of the surface you’re working on. Protect it with layers of newspaper or a heat-resistant mat to prevent any damage from hot wax spills.
Step-by-Step Guide to Working with 464 Wax
Now that you have your workspace prepared, let’s dive into the step-by-step process of working with 464 wax for candle making.
Melting the 464 Wax
Begin by melting the 464 wax using a double boiler or a heat-resistant container within a pot of simmering water. This gentle method ensures that the wax melts evenly and prevents any scorching. The double boiler technique provides a controlled and gradual heat transfer, allowing the wax to reach its melting point without any sudden temperature spikes.
As you watch the wax transform from solid to liquid, take a moment to appreciate the mesmerizing sight. The wax slowly softens, its molecules unlocking and releasing their potential to become a beautiful candle. Stir occasionally to ensure even heat distribution, as every part of the wax deserves to experience the warmth equally.
Once the wax has completely melted, remove it from the heat source and allow it to cool slightly to around 170°F (77°C) before proceeding to the next step. This brief intermission allows the wax to settle and stabilize, ensuring optimal conditions for the next phase of the candle-making process.
Adding Fragrance and Color to the Melted Wax
Once the wax has cooled to the appropriate temperature, you can add fragrance oils or essential oils to create your desired scent. The aroma will infuse your candles, transforming them into vessels of delightful fragrance that will enchant any space they grace. Remember to follow the recommended fragrance load for the type of wax you’re using, as each wax has its own capacity for scent absorption.
As you delicately pour the fragrance oils into the melted wax, the room fills with a symphony of scents. Close your eyes and let the fragrant notes transport you to a world of tranquility and bliss. Stir the fragrance oils gently into the melted wax, ensuring that every drop is embraced by the warm embrace of the wax, creating a harmonious blend.
If you wish to add color to your candles, this is the time to do so. Choose from a wide array of dye chips or liquid candle dye to achieve your desired color intensity. With each drop of color added, the wax transforms, taking on a vibrant hue that will captivate the eyes of those who behold your finished candles. Add the dye in small increments, stirring well after each addition, until you achieve your desired color. Allow your creativity to flow as you experiment with different shades and combinations.
Pouring the Wax into Molds
Before pouring the wax into molds or containers, make sure they are clean and dry. Each mold eagerly awaits the arrival of the molten wax, ready to embrace its transformative power. Place the wick in the center of the mold, securing it with a wick centering device or a piece of tape. The wick stands tall, a beacon of light that will guide the way for the flame to come.
As you slowly pour the melted wax into the molds, take care not to spill. The wax cascades gracefully, filling each mold with its liquid embrace. Feel the satisfaction of creating something tangible, something that will bring warmth and joy to those who receive your candles. Leave a small amount of space at the top to allow for shrinkage during the cooling process, ensuring that your candles maintain their perfect form. Find more about tangible on https://vpal.harvard.edu/engagingsenses
Now, it is time to let nature work its magic. Allow the candles to cool and cure undisturbed for at least 24 to 48 hours, or until they are completely solidified. During this time, the wax undergoes a transformation, solidifying into its final shape, ready to be ignited and illuminate the world with its gentle glow. Patience is key, for it is in the waiting that the true beauty of the candle-making process is revealed.
Troubleshooting Common Issues with 464 Wax
Even with careful preparation and execution, issues may arise during the candle making process. Here are a couple of common issues you may encounter when working with 464 wax and how to address them.
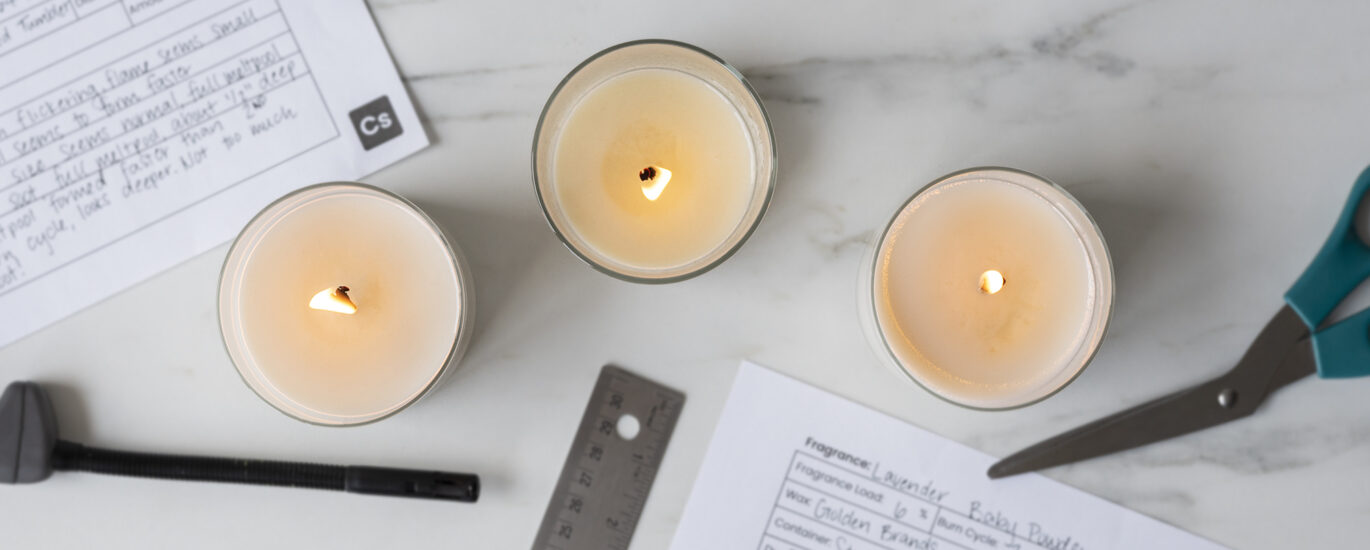
Dealing with Uneven Wax Surface
If you notice that the surface of your 464 wax candles is uneven or bumpy after they have cooled, this may be due to temperature fluctuations during the cooling process. To prevent this issue, ensure that the candles cool in a draft-free area at a consistent room temperature. If you’ve already encountered this issue, you can try gently heating the surface of the candle with a heat gun or a hairdryer to smooth out any imperfections.
Addressing Wax Shrinkage
Wax shrinkage is a common occurrence when working with 464 wax. It happens when the wax contracts as it cools, causing a small gap between the wax and the mold or container. To minimize shrinkage, it’s important to leave a small space at the top of the mold or container during the pouring process.
If you do encounter wax shrinkage, you can top up the gap by melting a small amount of additional wax and carefully pouring it into the affected areas. Remember to match the temperature of the additional wax to the cooled candles to ensure proper adhesion.
Tips for Achieving the Best Results with 464 Wax
To achieve the best results when working with 464 wax, consider the following tips:
Optimal Pouring Temperature for 464 Wax
464 wax has an optimal pouring temperature range of 135°F to 145°F (57°C to 63°C). Pouring the wax within this temperature range ensures good adhesion to the mold or container and minimizes the risk of sinkholes or other surface imperfections. Use a thermometer to monitor the wax temperature closely during the pouring process.
Best Practices for Cooling and Curing 464 Wax Candles
Allow your 464 wax candles to cool and cure undisturbed in a draft-free area with a consistent room temperature. This ensures proper solidification and reduces the risk of surface imperfections. A curing time of at least 24 to 48 hours is recommended, although longer cure times may be beneficial for improved fragrance performance.
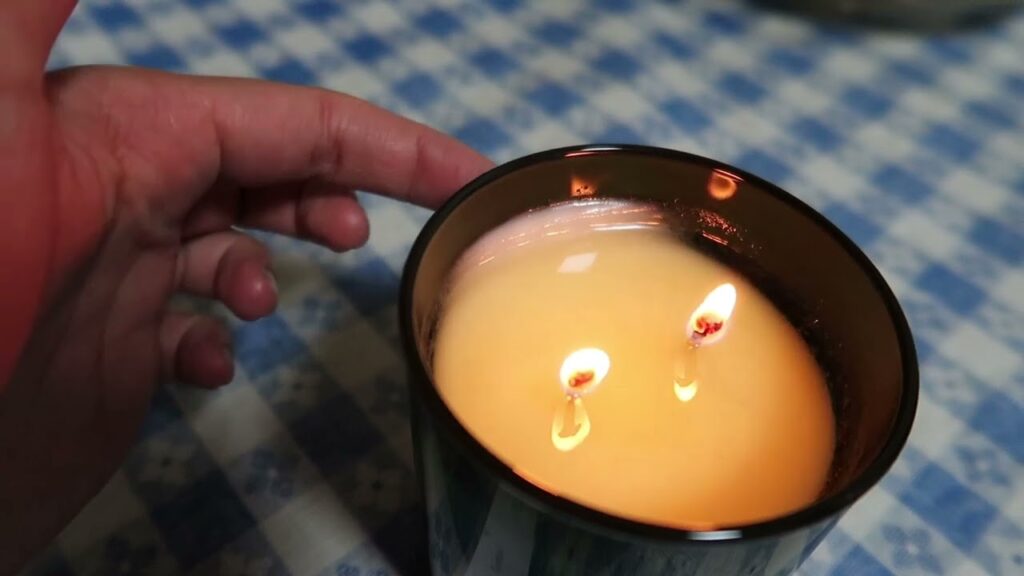
Once the candles have fully cooled and cured, trim the wicks to approximately ¼ inch (0.6 cm) before lighting them. This promotes a clean and even burn throughout the life of the candle.
By following these steps and tips, you can confidently work with 464 wax for candle making. Enjoy the process of creating your own unique candles and delight in the warm glow and pleasant scents they bring to your space. Happy candle making!